Popular search terms
Tie Dye
Coloured pencils
Paint
Email address is required
Password is required
Email address is required
Return home
Tips and Tricks

Create a Two Colour Multi-Block Print

August 31, 2023

Create a Two Colour Multi-Block Print

Seen on https://www.essdee.co.uk/create-a-two-colour-multi-block-print/

By Andrew Campe. This post is a step-by-step guide on how to create your own two-colour multi-block linocut print.

STEP 1 

Create a simple design using a main black linear drawing (this is called the ‘Key Block’), and one other colour. It can be anything you like. Create something that interests you and that you’ll enjoy working on. Keep it simple. Its best to have relatively thick lines for the key block design… this will allow you a certain amount of ‘play’ in the registration process.

I have used an iPad to create my design. You don’t need fancy equipment though, a pen and paper is just fine!

STEP 2

Cut two blocks of lino, at the same size, as accurately as possible. I tend to buy the battleship grey lino from Essdee.  It’s always good to lightly sand down the blocks. This helps remove any small lumps of lino which might be on the block and helps the ink to take to the block. You can draw the image straight onto first piece of lino or trace the image on. I tend to print out a couple of copies of my design, one to use as a reference image and one to use to trace the image onto the block.


STEP 3

Once you have drawn out your key block image onto the first block, carve it out. Take your time doing this and enjoy the process! I use professional grade carving tools which are quite expensive, but beautiful to work with and very well made. If you’re starting out, I would suggest using a starter kit from Essdee which include basic, but good, cutting tools.

Note

The next few stages illustrate exactly how to transfer your key block image onto your colour block in preparation for carving. The most important aspect of this process is that your blank colour block ends up in the same position as your key block. To do this, you can check out the blog on my website about  ‘Making a Homemade Registration Device.’ Alternatively, you could use two pieces of lino to act as a buffer to hold both blocks in place and in the same position.

STEP 4

Ink up your key block using water based black ink. The reason for using water-based ink for this part is so it dries quickly. Place the inked block into your registration jig. Before doing this, have a piece of cheap photocopy paper taped down on, or next to, the jig. Carefully place the paper onto the inked key block. Its good to bend the paper as you do this. Using a baren, or spoon, hand burnish to create a print onto the paper.

STEP 5

Peel back the paper to reveal the print of the key block. Remove the key block and replace this with the prepared colour block. Be sure that the this goes in the same position as the previous block. If it doesn’t, this will affect the registration and your print may not align properly. As I mentioned at the start of the blog, having slightly thicker black lines will help in hiding any slight lapses in registration.

STEP 6

Carefully, using the same technique, bend/push the paper onto the colour block. Hand burnish using a baren or spoon. Peel black the paper to reveal a ghost print of your key block design, which is now on your colour block. It doesn’t matter if the image is faint… if anything this is better. You just need to see enough of the image to work from.

Note

At this stage its good to leave the colour block to completely dry. I usually leave it overnight, or if I’m in a rush I’ll bung it in the airing cupboard for a few hours!

STEP 7

Once your colour block is dry, it’s time to prep for carving. You need to carve away all the areas that won’t have colour and leave the areas that will. Before you begin carving, it’s helpful to draw an outline, using a fine liner or pencil, of the areas you need to leave. Remember, everything you cut away will be white (or the colour of the paper) and whatever you leave will be colour. Take your time doing this stage, as it can be a little confusing on the first few attempts!

Note

When you’ve finished carving your colour block you can wipe away any excess ink left on the block from the ghost print.

STEP 8

You are now ready to print the first layer! I would strongly recommend, again, referring to my blog on ‘How To Make A Homemade Registration Jig’. This will help with how to align your block and paper perfectly.

Ink your colour block. When inking, I find it helpful to build up the layers of ink gradually and in different directions. I like flat, bold colours in my work. Try not to over ink, as this can lead to a ‘bobberly’ effect and may affect how the next layer of ink prints over on top.

Place your block into the registration jig and either run through your press or hand burnish with a baren or spoon.
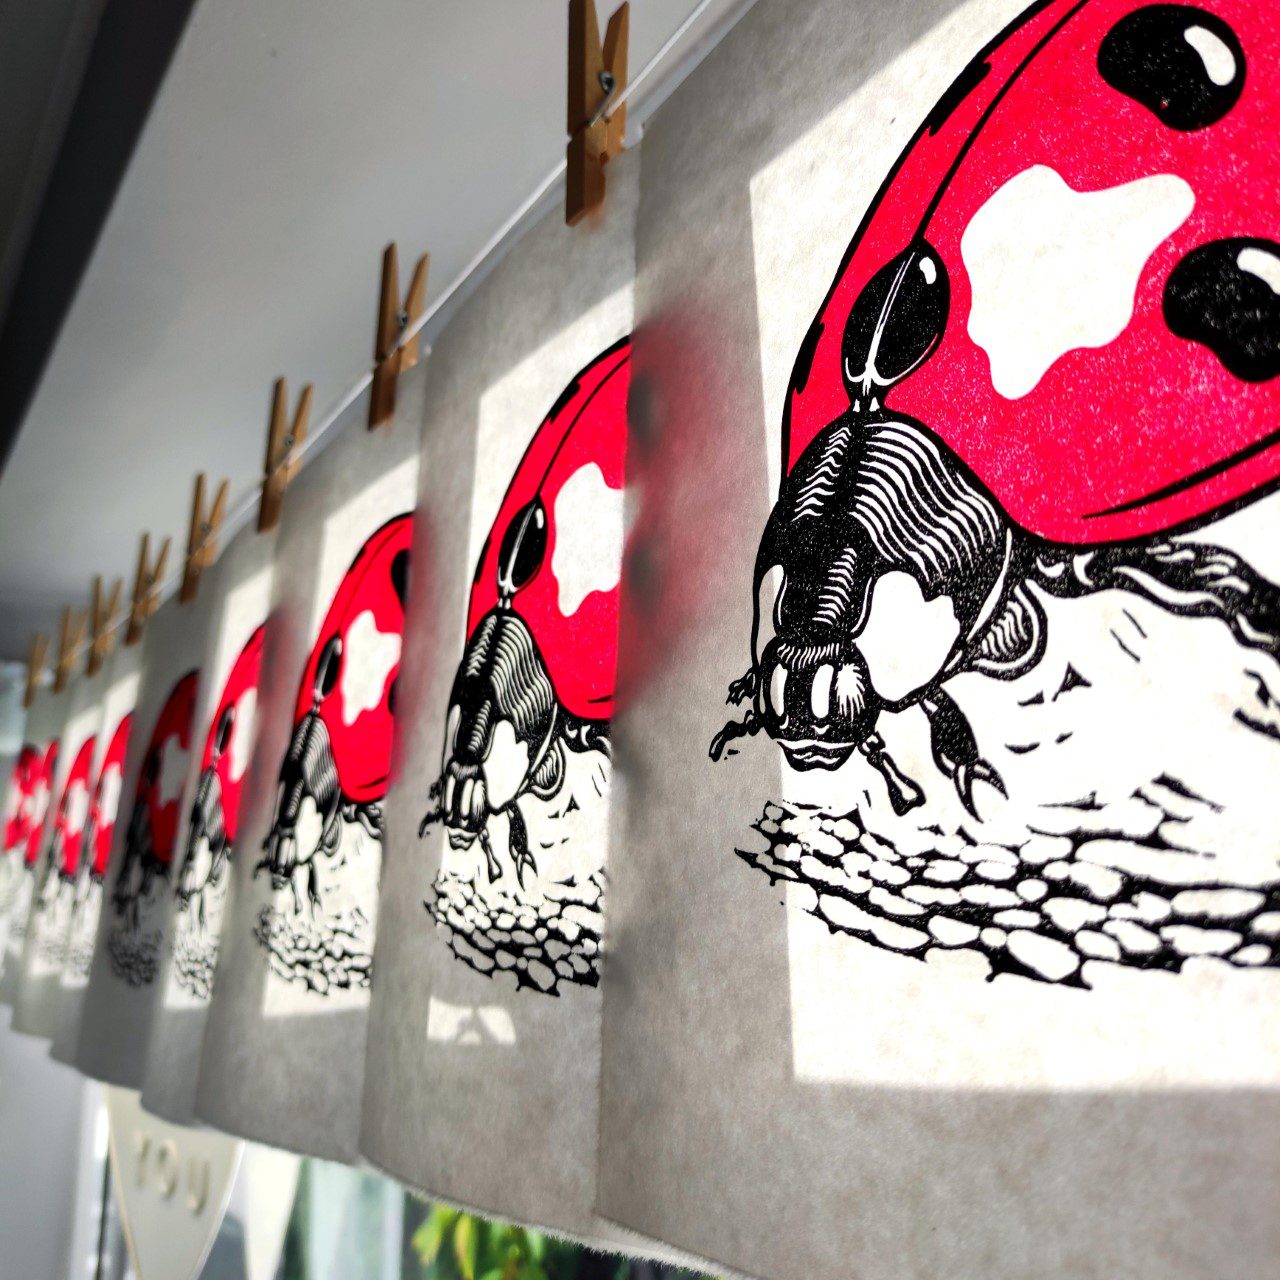
STEP 9

You have now printed your first layer! Print off as many as you so wish. If you’re aiming for an edition of, say 10, it’s a good idea to print a few more. There are always mistakes and mishaps in printmaking… as frustrating as these can be, they’re always good to learn from!

I tend to use high quality oil-based inks which can be cleaned up with soap and water, although water based inks can also be used and may be easier to use if you are relatively new to lino printing. Oil based inks can take a few days to dry, especially when building up layers on top of each other. To speed up the drying process, I use a colbolt dryer, which dries the inks overnight. There are different drying agents on the market, so do your research if you wish to use one.
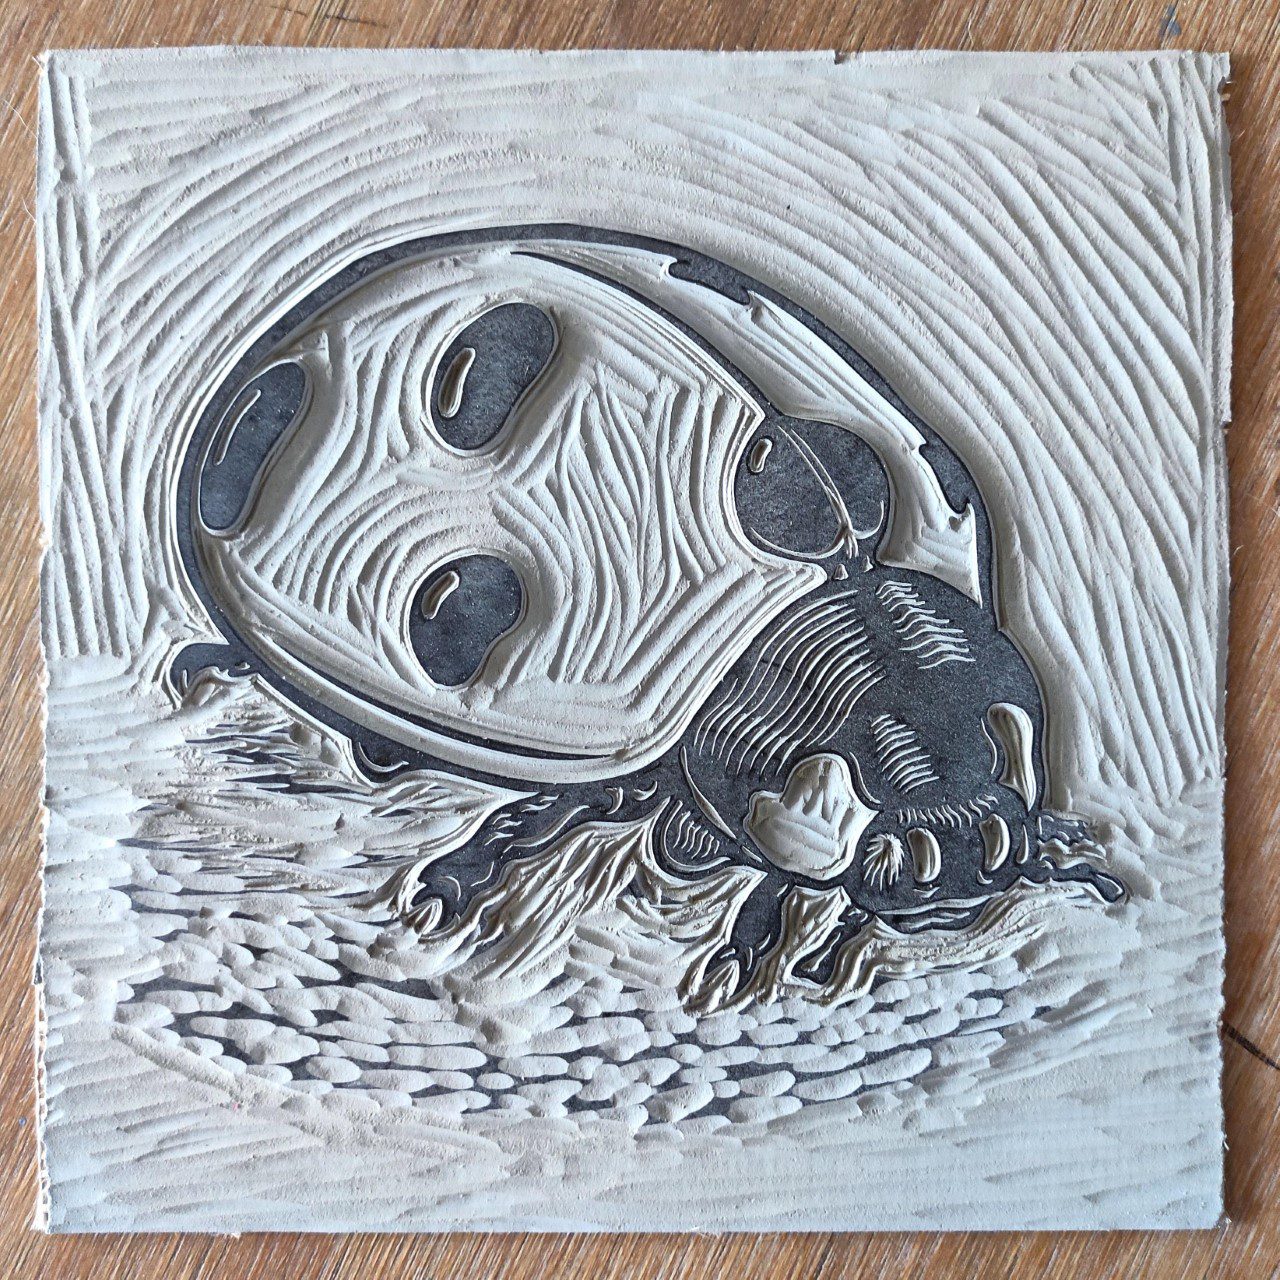
STEP 10

Once you have your first layer printed and dried, it’s now time to print the final ‘Key-Block’. Ink up the block, place in the registration jig and repeat the printing process. Remember, the registration (the alignment of your blocks and paper) is the key part to a successful multi-block or reduction print. There are many ways to get a good registration, not just my method, so it’s a good to look thoroughly online for advice on this subject.

STEP 11

Boom! There you have it! Your first multi-block linocut print. If you fancy doing something more adventurous next time, why not try a three-colour print? You’ll just need to do a ghost print of your key block design onto two colour blocks, which means you can implement another colour into your work. You can do as many colours as you like!

Image credits: Andrew Campe